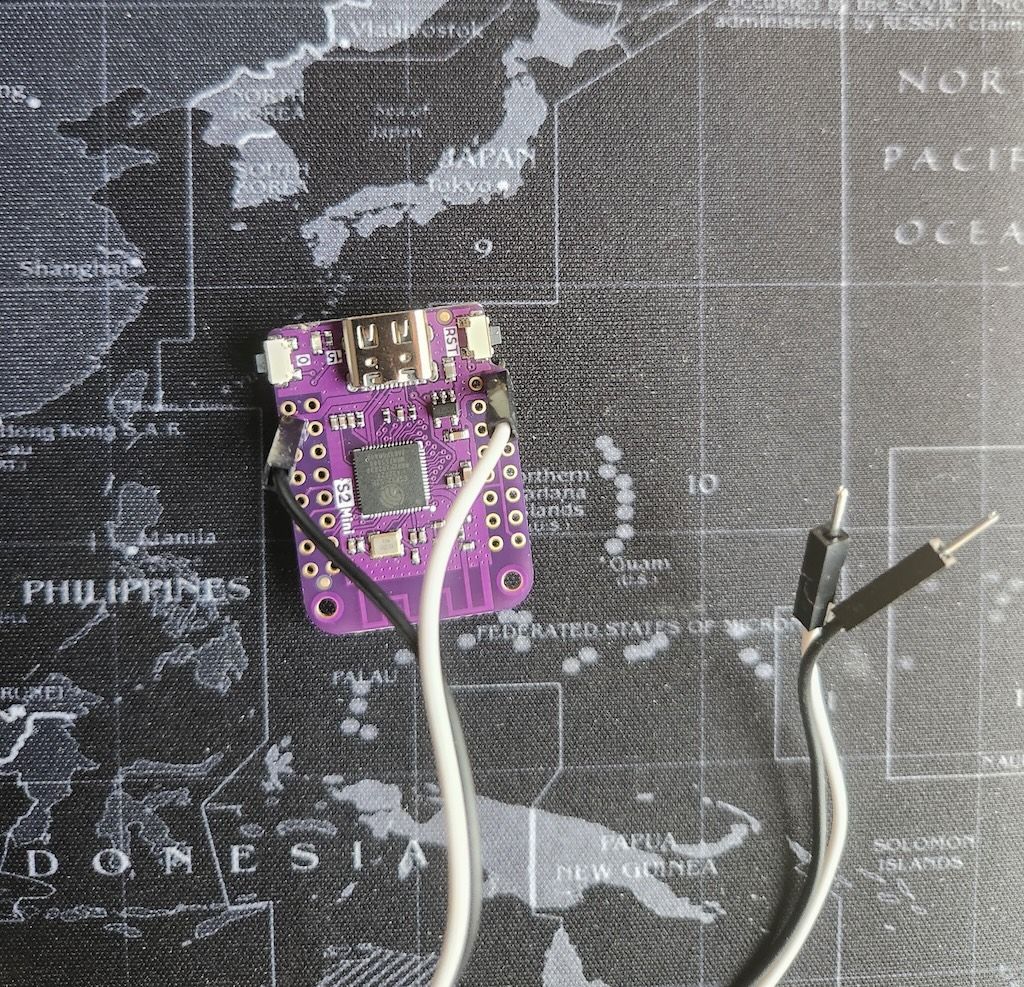
Hosting a Website on ESP32 Webserver with Microdot: Step-by-Step Guide

ESP32 is famous micro-controller for hobby and commercial projects. In this tutorial, we'll explore how to host a website on an ESP32 using the Microdot framework.
What is Microdot?
Microdot is a lightweight Python web framework designed for light weight operations. It offers a minimalist yet efficient way to create web applications. Its light weight makes it excellent choice for microcontrollers like the ESP32.
Prerequisites
Before diving into the ESP32 webserver setup, make sure you have the following:
- An ESP32 microcontroller with MicroPython firmware installed.
- A development environment (e.g., Thonny or VS Code with PlatformIO) ready to go.
- The Microdot library (we'll guide you through the installation).
Installing Microdot on Your ESP32
To get started hosting a website on your ESP32, you'll need to install the Microdot framework. Follow these steps:
1. Download and Install the Microdot Library
Begin by downloading the Microdot library from the official GitHub repository. You need to download micropython.py file and place it in the root directory of esp32.
Official Download link
2. Create Your ESP32 Web Application
With Microdot installed, you can start building your web application. Use the provided code as a starting point:
from microdot import Microdot
from microdot import send_file
import network

# Set your Wi-Fi credentials - We need them to connect the ESP32 to your network
ssid = 'your_SSID'
password = 'your_PASSWORD'

# Create a Wi-Fi station (STA) interface
sta_if = network.WLAN(network.STA_IF)
sta_if.active(True)

# Connect to the Wi-Fi network
sta_if.connect(ssid, password)

# Wait until the ESP32 is connected to the network
while not sta_if.isconnected():
    pass
print('Connected to Wi-Fi')


# web server code starts here
app = Microdot()

@app.route('/')
def index(request):
    return send_file('index.html')

app.run(port=80)
NB: Update your wifi ssid (name) and password in above code
Save above code in your code.py on root directory of ESP32. This code connect esp32 to network and creates a web application serving an index.html file when you access the root URL.
3. Create a basic HTML file
<html>
<title> Website Hosted on Esp32 </title>
<body>
<p> Hello World ! </p>
<p> This website is hosted on esp32 </p>
</body>
</html>
I used little css in my esp32 website here
4. Upload the Web Files
Now, upload your web files, named as index.html file, to your ESP32. Make sure you copy the file at the root directory.
5. Start the ESP32 Web Server
Restart your ESP32 to start the web server (make sure the micropython is installed before you install microdot).
6. Access Your ESP32 Webserver
Once it is running, you can access your website by entering your ESP32's IP address in a web browser. For example, if your ESP32's IP address is 192.168.1.100, input http://192.168.1.100 in your browser.
(To find the IP of ESP32 device, one of the easiest way is to check from device connected list of your router)

Congratulations! You've successfully hosted a website on your ESP32 webserver like my esp32 website.
Like to discuss or see more projects like this, connect with me at LinkedIn here!


